This post may contain affiliate links. If a product or service is purchased using a link(s) in the post below a small commission may be earned.
Last updated on July 5th, 2024 at 01:01 pm
I recently had an idea for a quick and easy DIY project. I happened to be out shopping and saw a roll of contact paper that would make a great background for flat lays or even for general photo taking.
Supplies
- contact paper
- scissors or a craft knife
- a box or panel or something sturdy
- tape measure or ruler
You may also want something to weigh your contact paper down with so it doesn’t roll up while your working.

The contact paper I used was 18 inches by 1.5 yards I picked it up at my local Dollar Tree. I liked the floral design. You can use any size that fits your needs along with any pattern you like. You also may want to read any directions on the contact paper. Some won’t adhere to certain types of surfaces. Also some contact paper adhesive can be a bit smelly so you may want to be in a well-ventilated area.


Creating the backgrounds
So as you saw from the supplies photo I opted to create my flat lay background using a large box. As I mentioned you can use anything you have as long as it’s sturdy.
The next steps are easy. You just have to decide how large you’d like your background to be. You can always cut it to size when you’re done before adding the contact paper or maybe even after if you like.

Once I measured the width of the paper I opted to cut the box along the side seam. In this photo, I was trying to figure out the width of the paper.
If you have a large box like I did you can always cut off the flaps and just use the center.

Once I figured out how long I wanted the background I measured it with the contact paper.

Once I double-checked to make sure I had it the size I wanted it I cut everything to size.

Removing the backing from the contact sheet can be tricky. It can also be a mess if you peel off too much at one time. I tried to do this slowly and smooth out the paper as I applied it to the cardboard.
As you can see from the previous photo I left the flaps on the box. I spent a few minutes trying to figure out how to deal with them. I opted to keep them on. I folded them under and thought it would give my background more shape. It would also be good if I wanted to prop it up a bit as well.

I had leftover materials
Since I had some leftover materials I figured I’d make a second background. The steps are the same. I’ll add a slide show so you can see it.
once that’s all done you peel off the backing paper from the contact paper and line it up with your surface. You will want to take care when applying the contact paper to the surface If you smooth it out as you go along it helps cut down on wrinkles or having the paper adhere to itself.

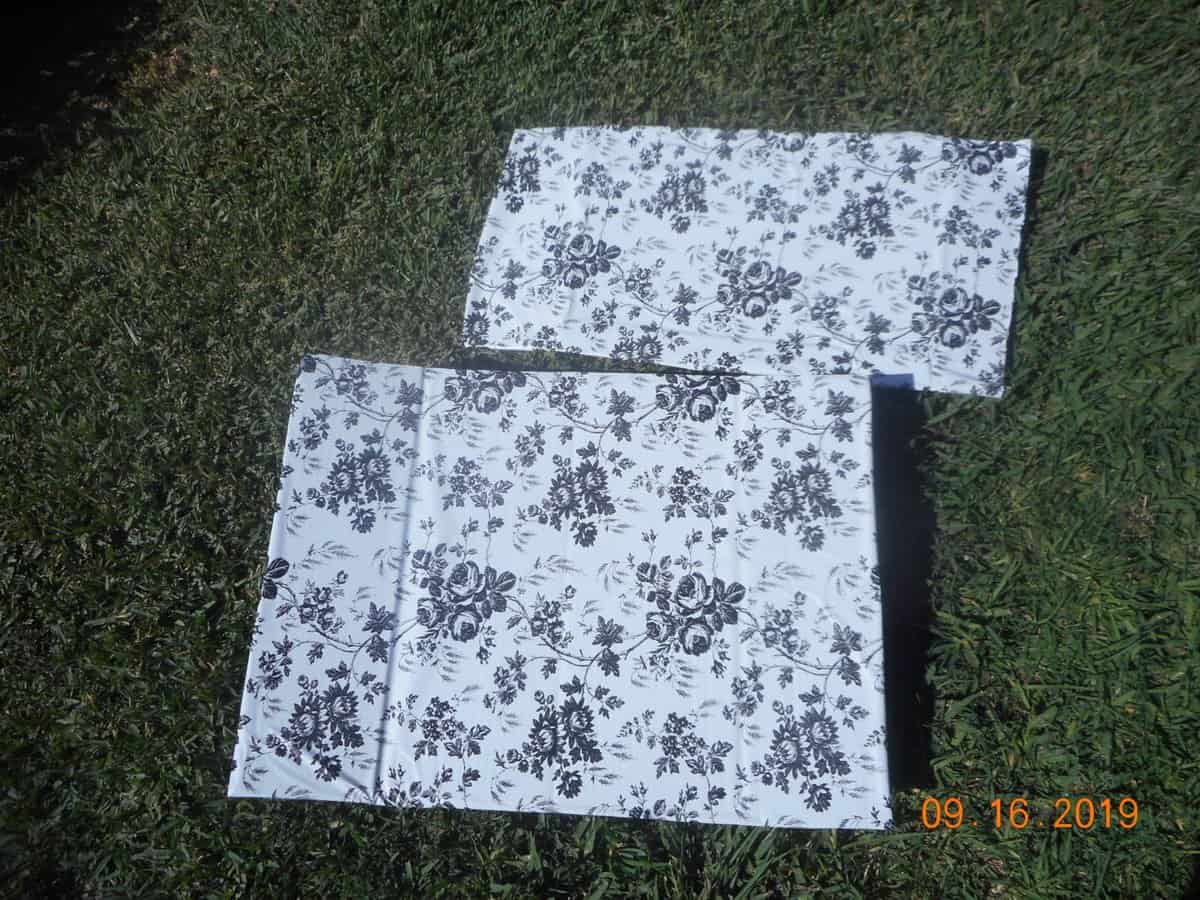
These are what the finished backgrounds look like. These can be used for a variety of things such as flat lays or general photos as I mentioned at the start of the post.
Well, I hope this post helps inspire you to create a DIY project. Let me know what you all think in the comments below.


