This post may contain affiliate links. If a product or service is purchased using a link(s) in the post below a small commission may be earned.
Last updated on July 5th, 2024 at 11:52 am
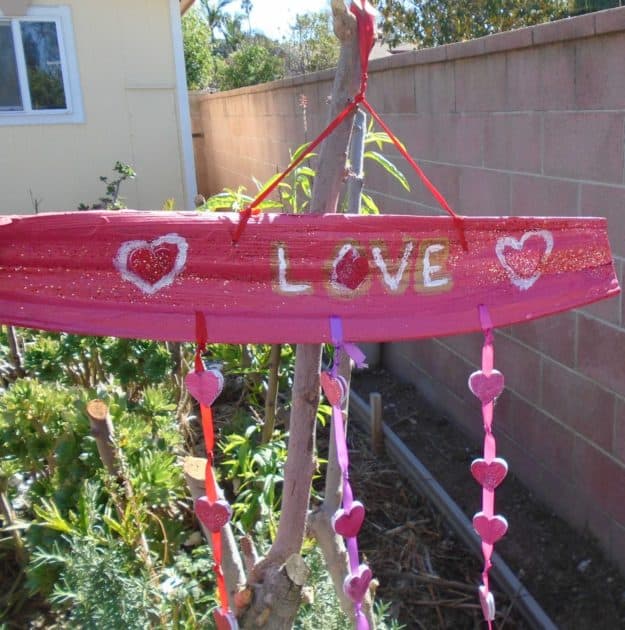
I thought this would be a fun craft for Valentine’s day or any other day. This sign offers a touch of handmade art to any decor.
I happened to have a lot of leftover palm tree bark so I use it from time to time.
You can make your sign out of any materials you have on hand.
Supplies
[su_list icon=”icon: paw” indent=”1″]
- sign base (wood cardboard, paper)
- Paint (any colors you like)
- a paint pouring medium
- Cups/li>
- acrylic paint markers (or any markers) /li>
- a pan or tray to catch the paint when paint pouring
- a gloves
- ribbion (colors of your choice)
- craft stick
- glue (hot or cold)
- Hearts (paper, wood, foam)
- apron
[/su_list]
Optional supplies: Glitter, extra paints, Spray sealer if you use wood, and a drill (if you use wood.)

Paint Pouring steps
You can skip this step if you are making your sign out of another material. Since I used Palm bark I will show these steps.
prep your wood
You can make sure your wood base isn’t splintered or damaged. You can also pre-drill your holes in your wood that way you won’t chip any paint after you paint pour it.
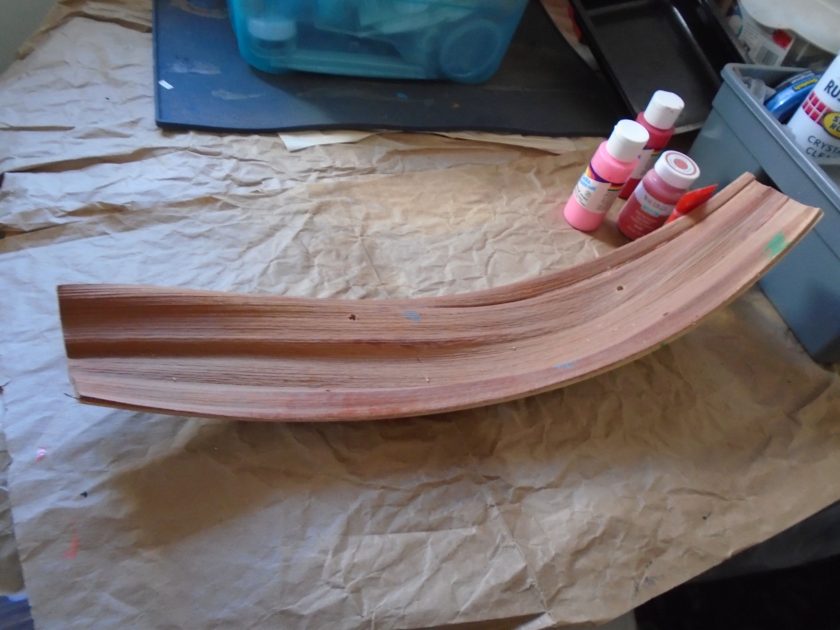
Gather your supplies
You can use any colors you like. I missed a bunch of various shades of reds, pinks, and even peach paint. I also tend to mix my paints as well. So I may mix acrylic with latex. Granted this isn’t something most people who paint pour do but I just use up what I have on hand.
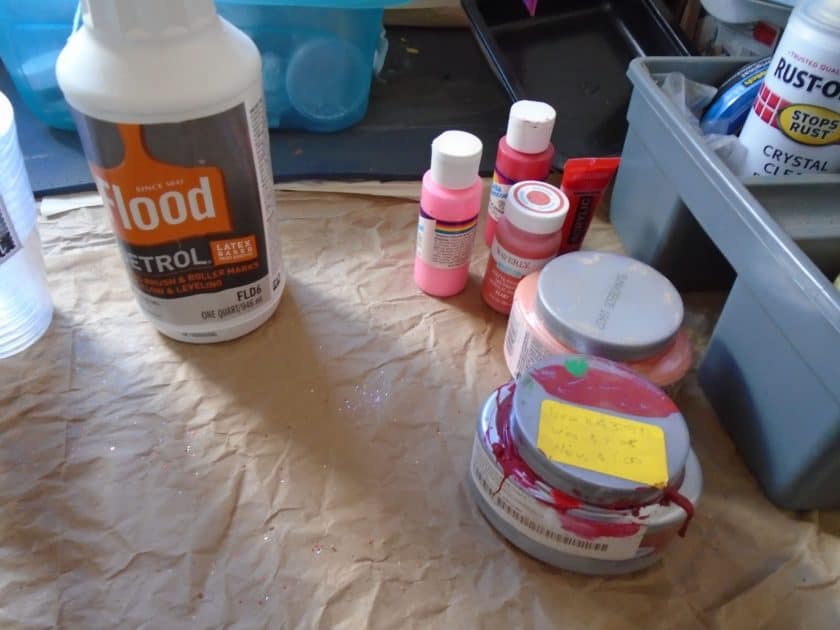
Mixing the colors
A note about using Flood Floetrol:
Always read the directions when using any paint additive medium. Also, make sure you shake the Floetrol bottle well.

When using Flood Floetrol you can add the product to a cup then add your colors (that’s what I did). Or you can mix your colors in individual cups. I’ve used both methods. I opted to mix everything in one cup because it would be less messy for me.
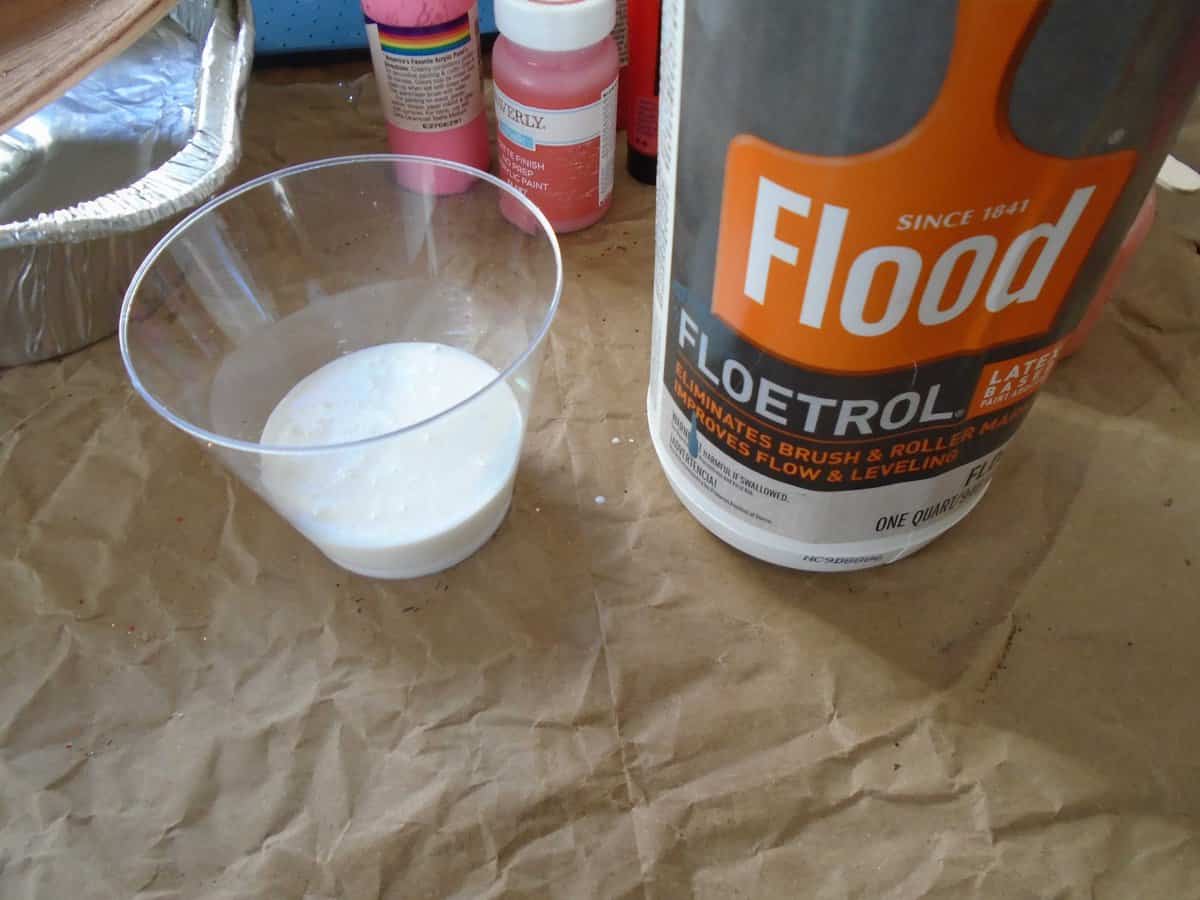
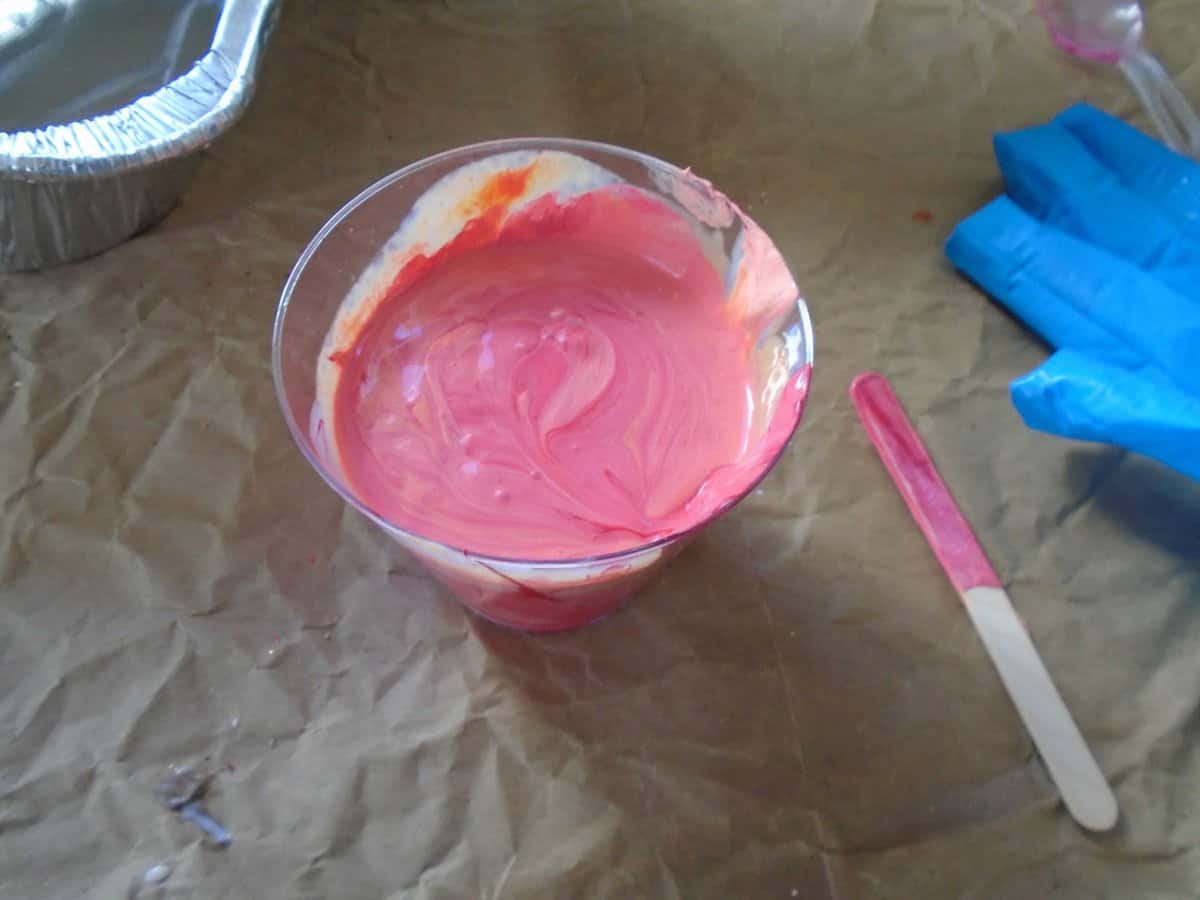
If you don’t want to deal with mixing a paint pouring medium into the paint you can also purchase pre-mixed ready to pour paints from many craft paint brands.
Pouring your paint
Here are a few tips when paint pouring.
You can use an apron if you like. I tend to wear something I don’t mind getting paint on.
- You can use an apron if you like. I tend to wear something I don’t mind getting paint on.
- Wearing gloves helps. It cuts done on having to peel paint off your hands or from under your fingernails.
- Use a pan or tray to catch your excess paint. I tend to collect it in another cup and use it to pour it over any areas that need a touch-up.
- A silcone mat helps when drying your project. You can peel it off the mat easily.

Depending on the shape and size of your sign you can pour the paint directly on it or at an angle. Since my palm bark was curved I tried to pour it down the side.
I will admit that my paint was a bit chunky because it had separated due to the weather. But It added a touch of texture to my project.
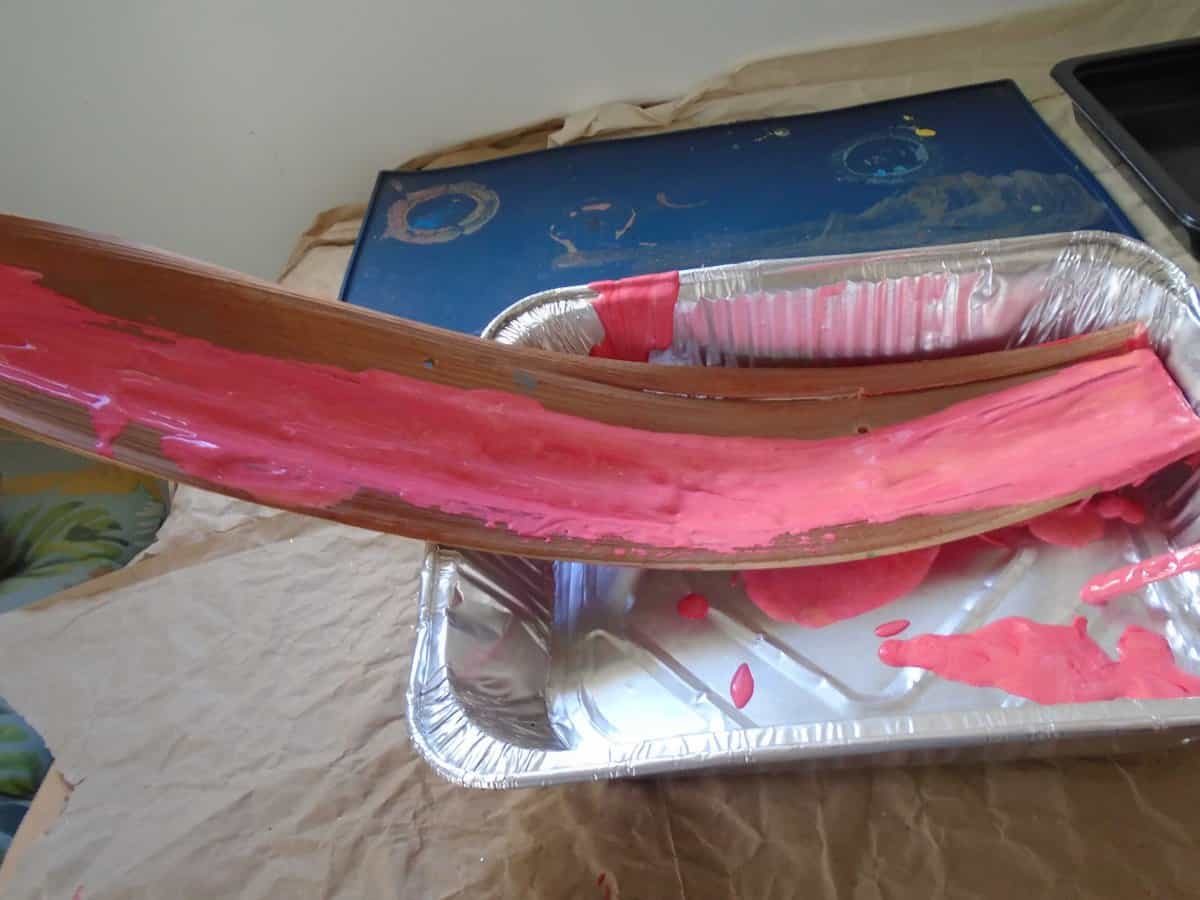
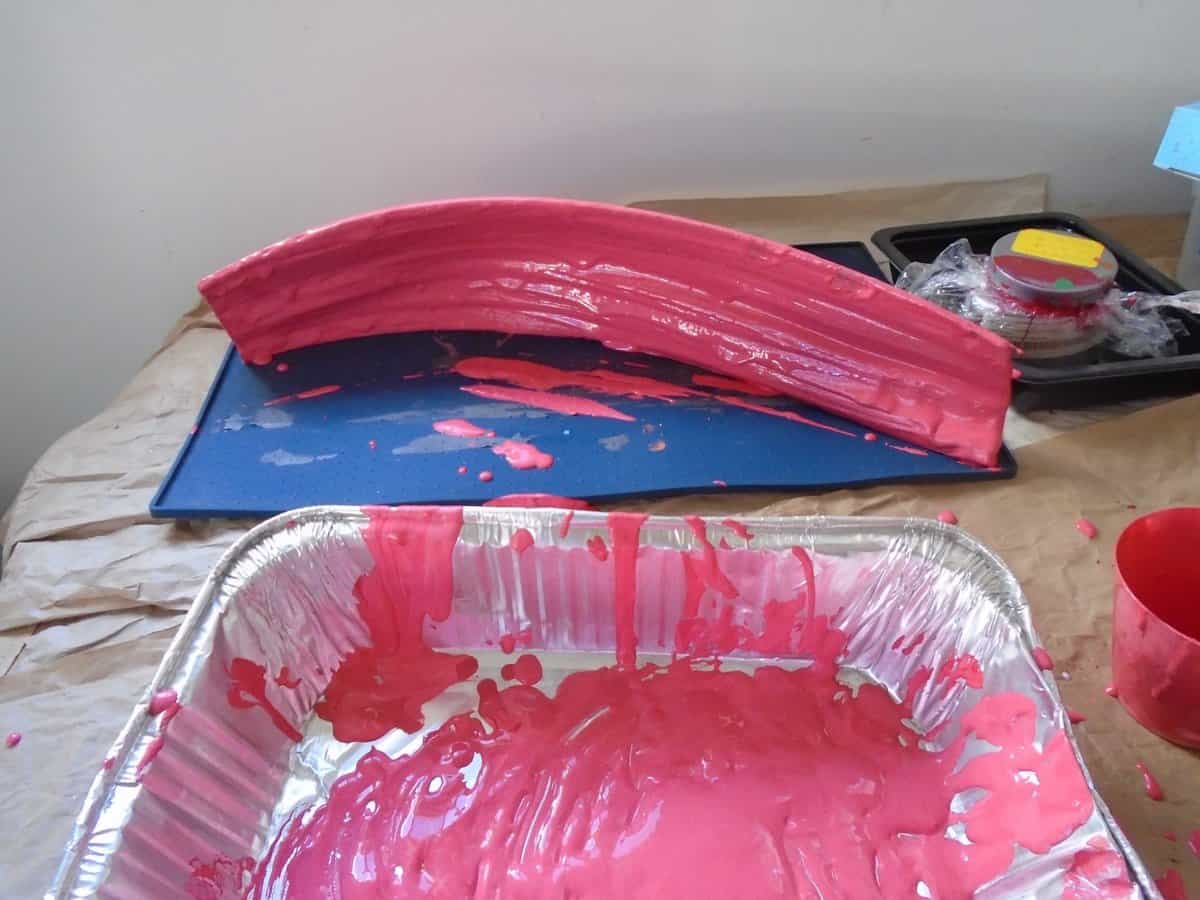
It’s fine to use your hand or a craft stick to spread the paint out if it pools.
Once you have the desired look that you’d like Or your sign is evenly coated you can set it off to the side to dry. Drying time will vary depending on the temperature. You can cover your sign with a box if you don’t want it to get dusty.
I let my sign dry for 48 hours.
Let’s get decorating
After my sign dried I went ahead and took a pair of scissors and removed any paint that had settled into the pre-drilled holes.
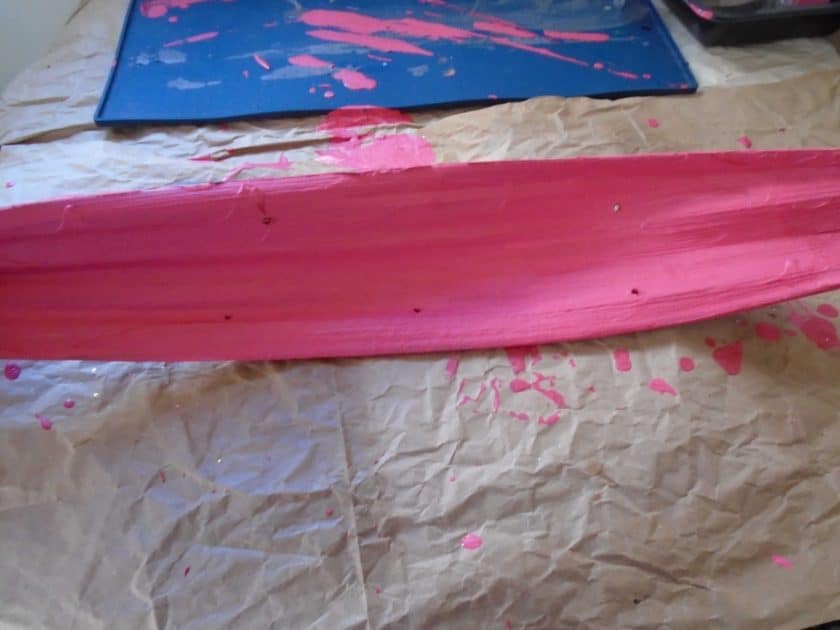
I gathered my other supplies to start decorating my sign.
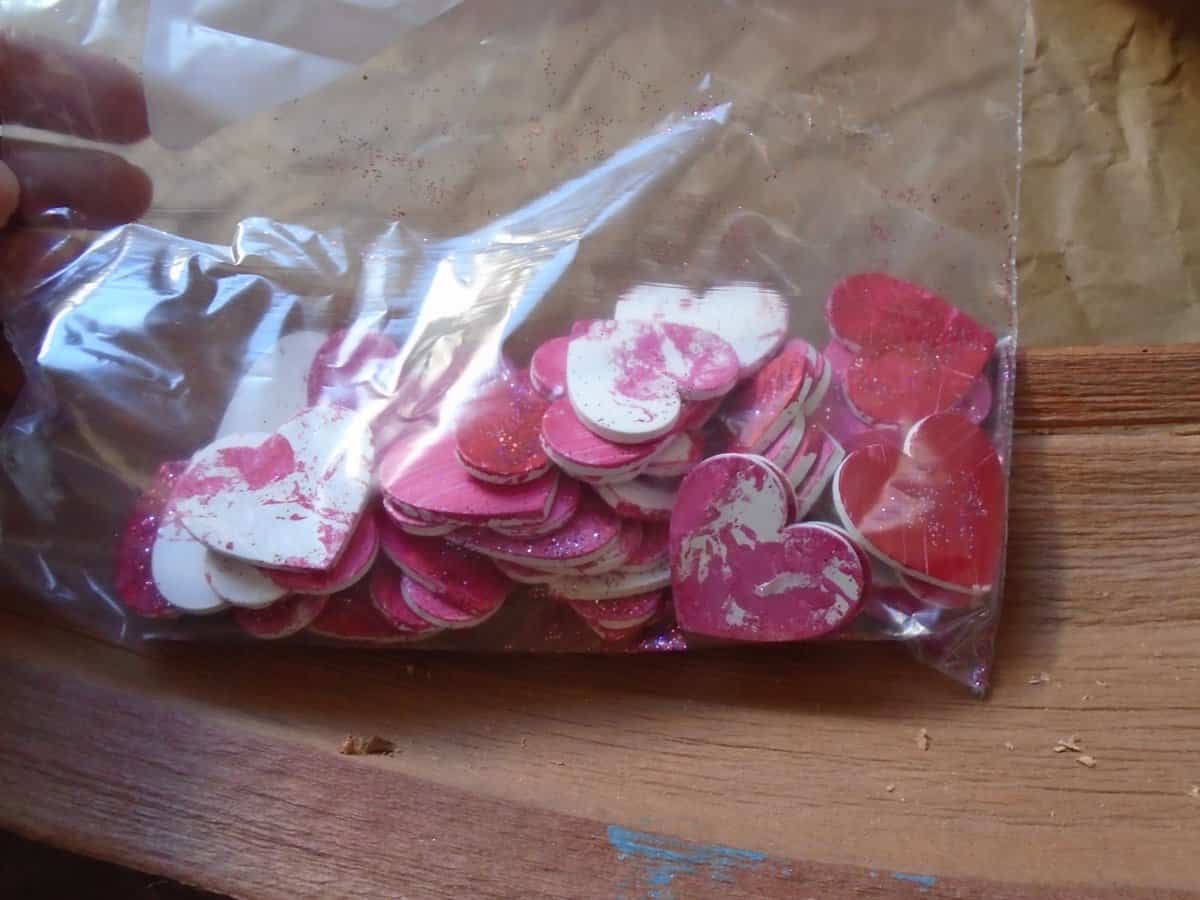
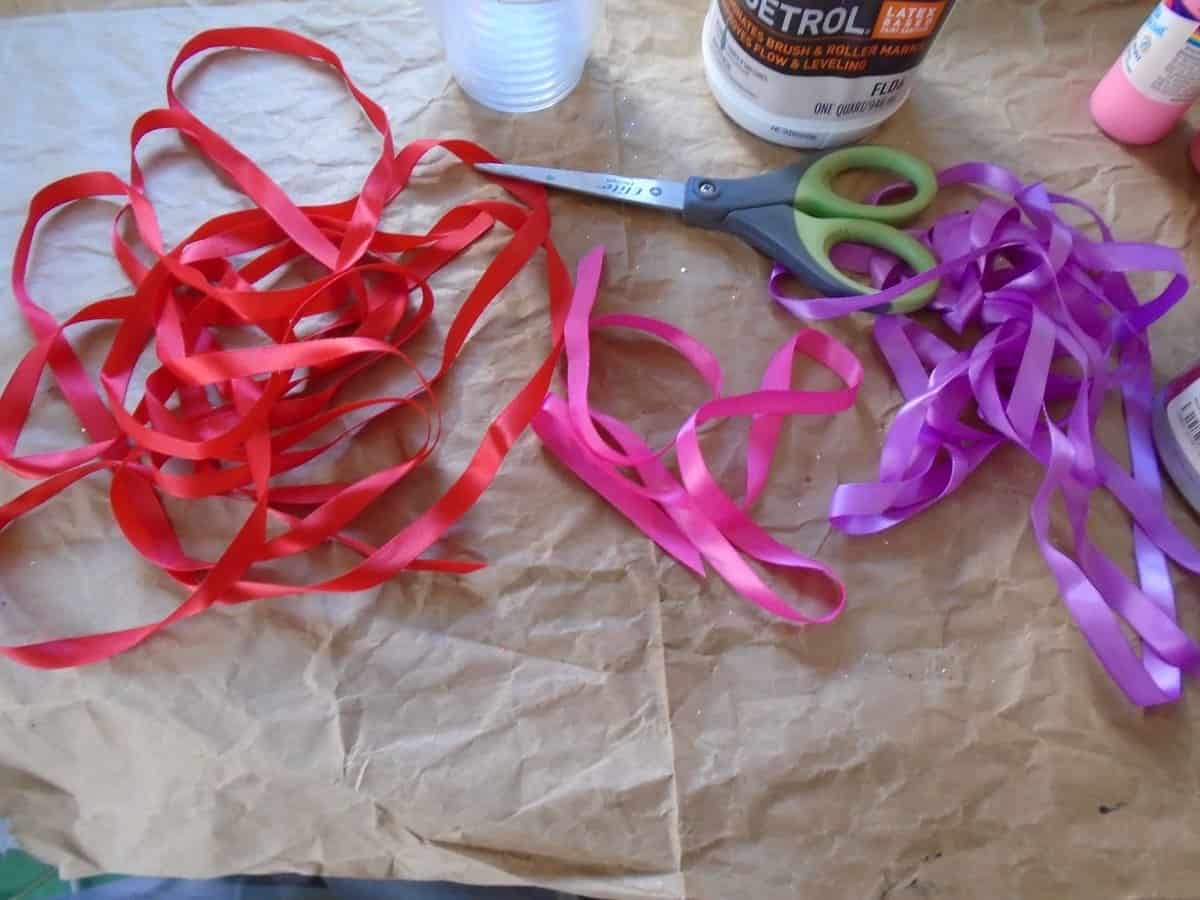
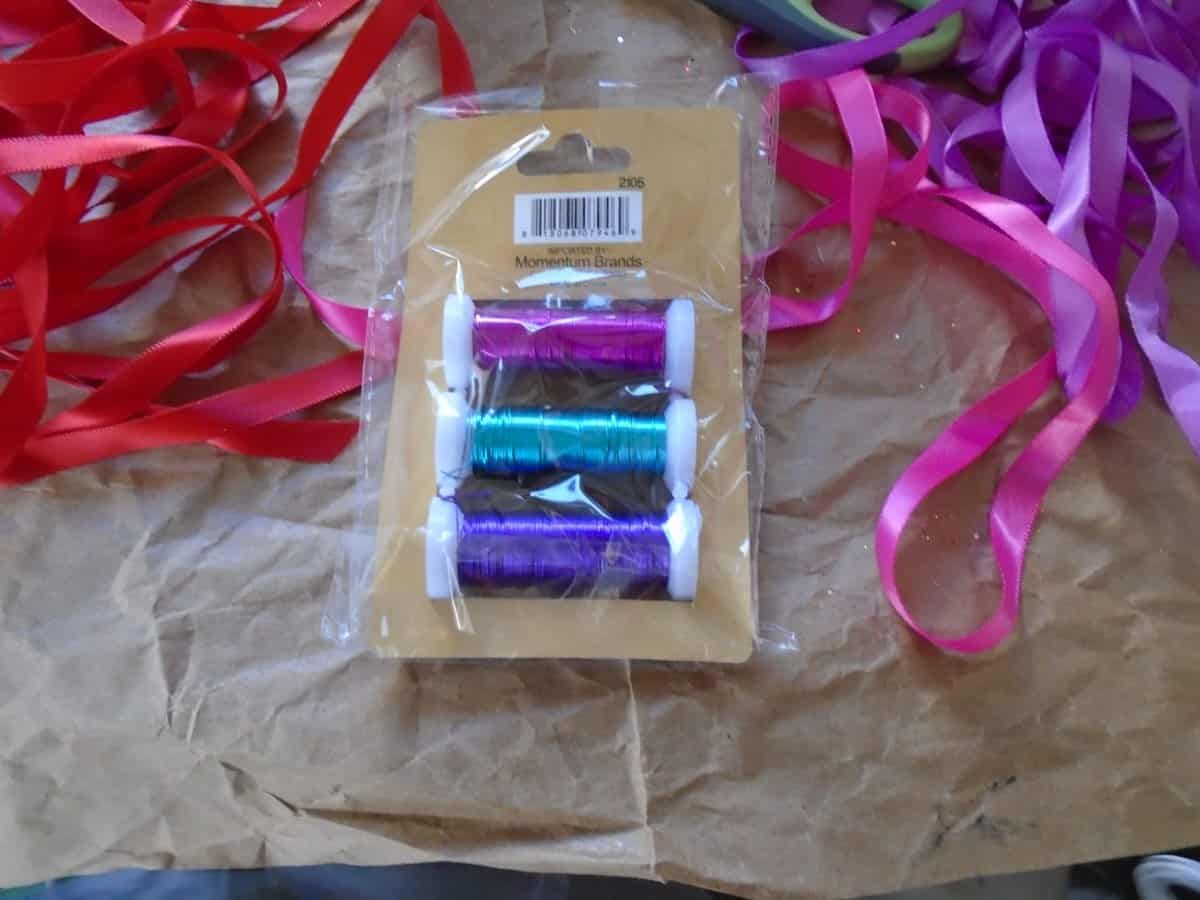
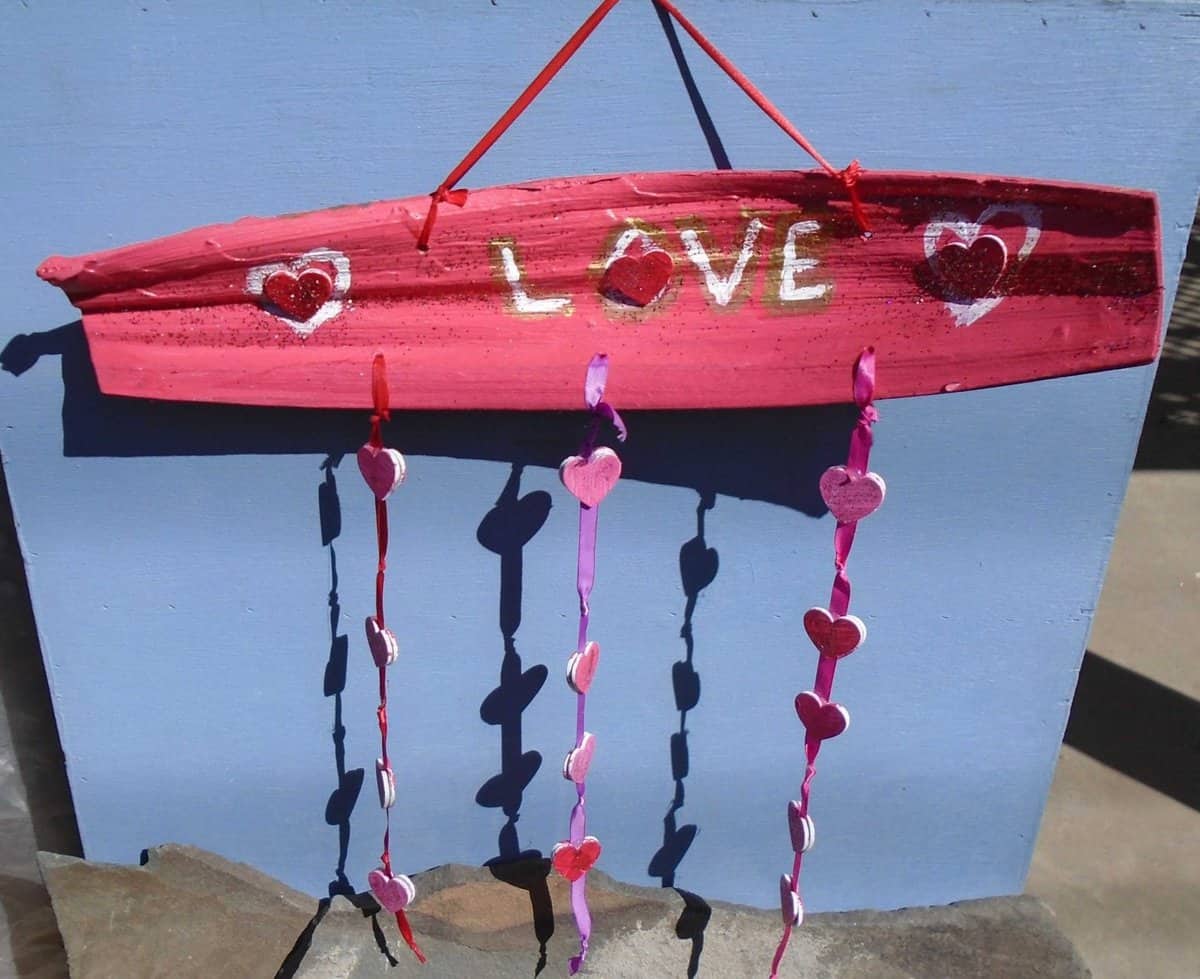
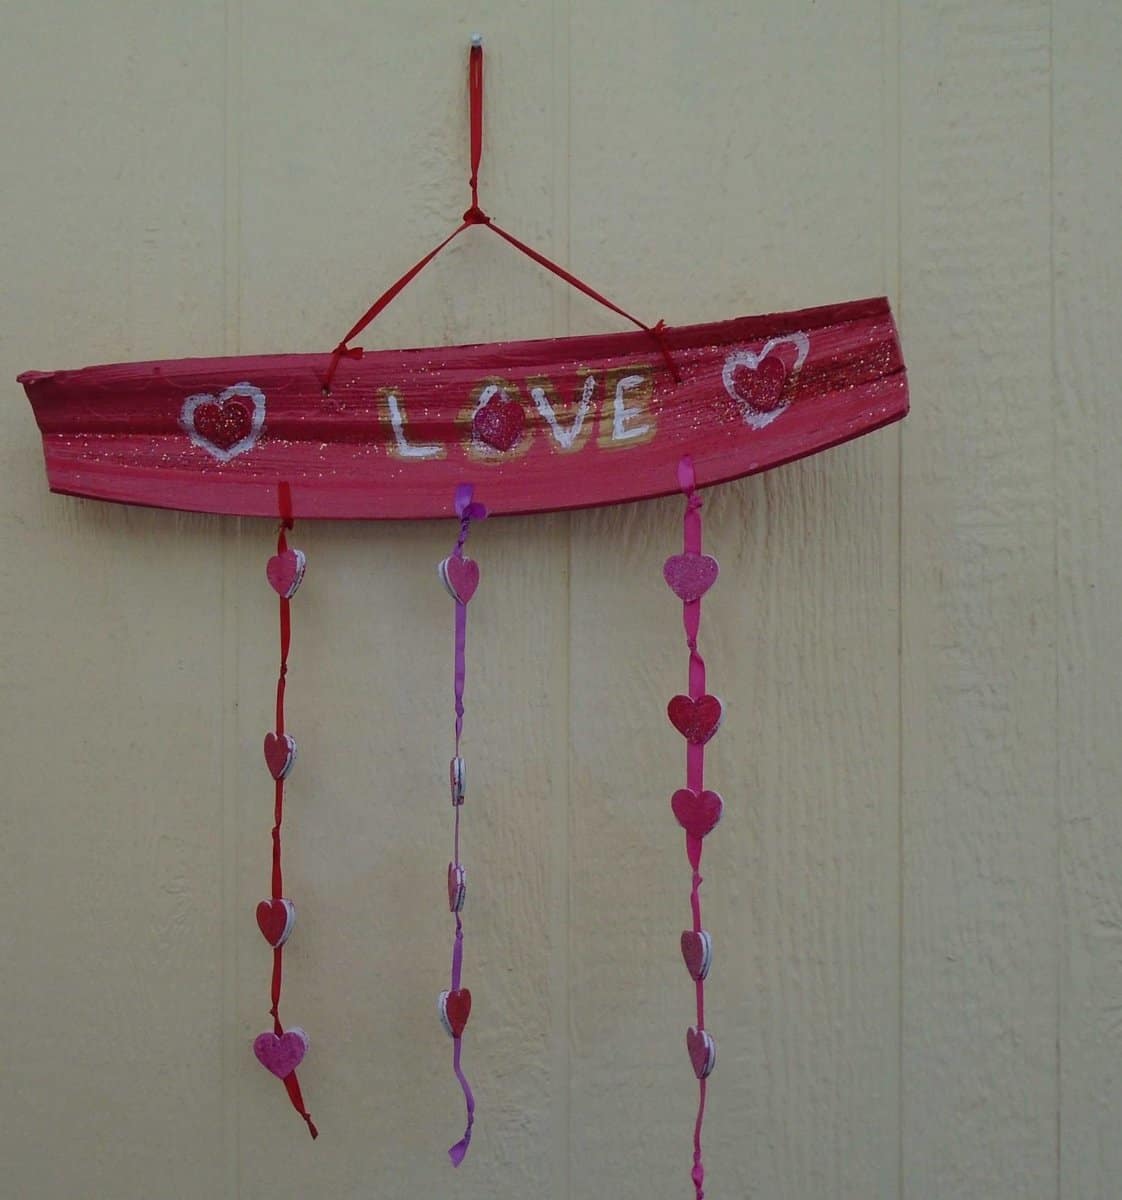
I opted to try to use paint markers to decorate my sign. I also had some hearts I had painted sometime last year (or maybe even earlier). I found some crafting wire and ribbon.
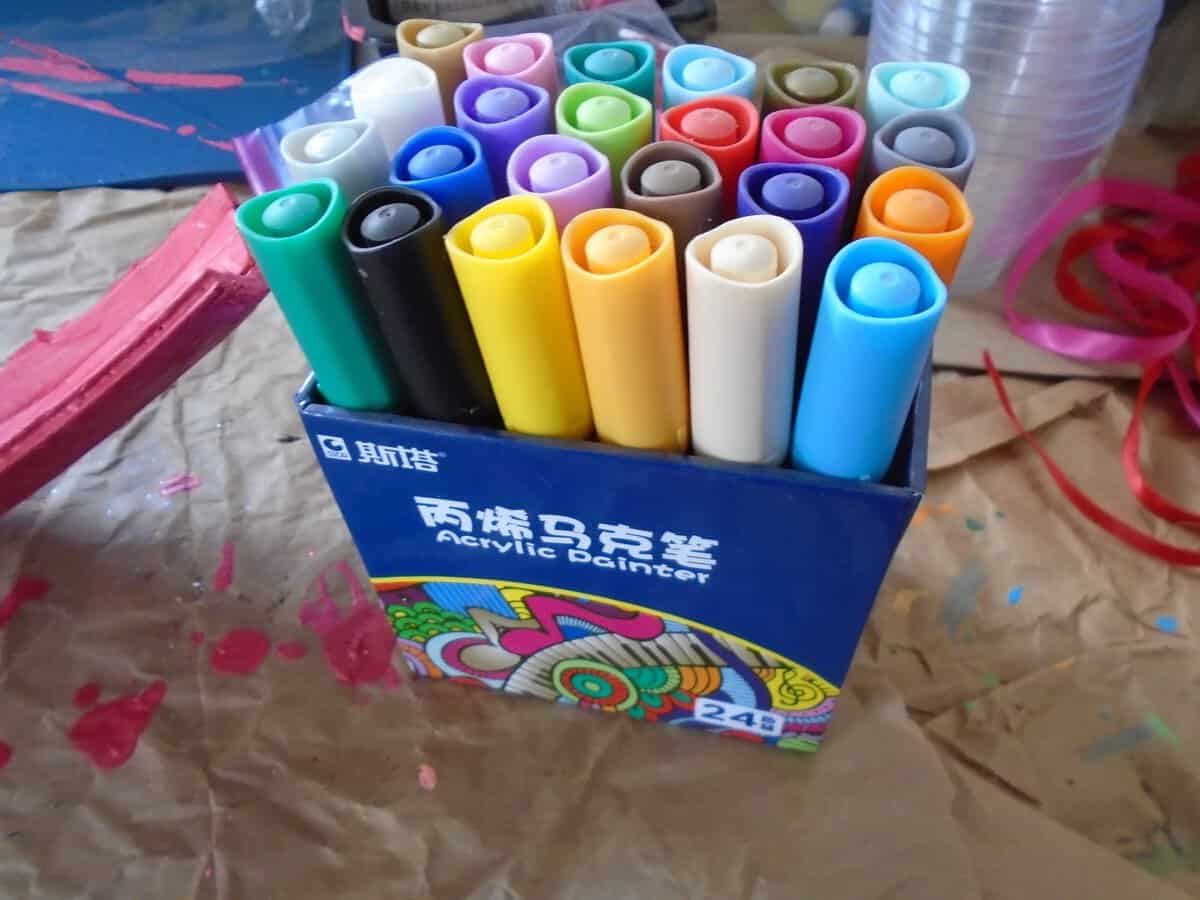
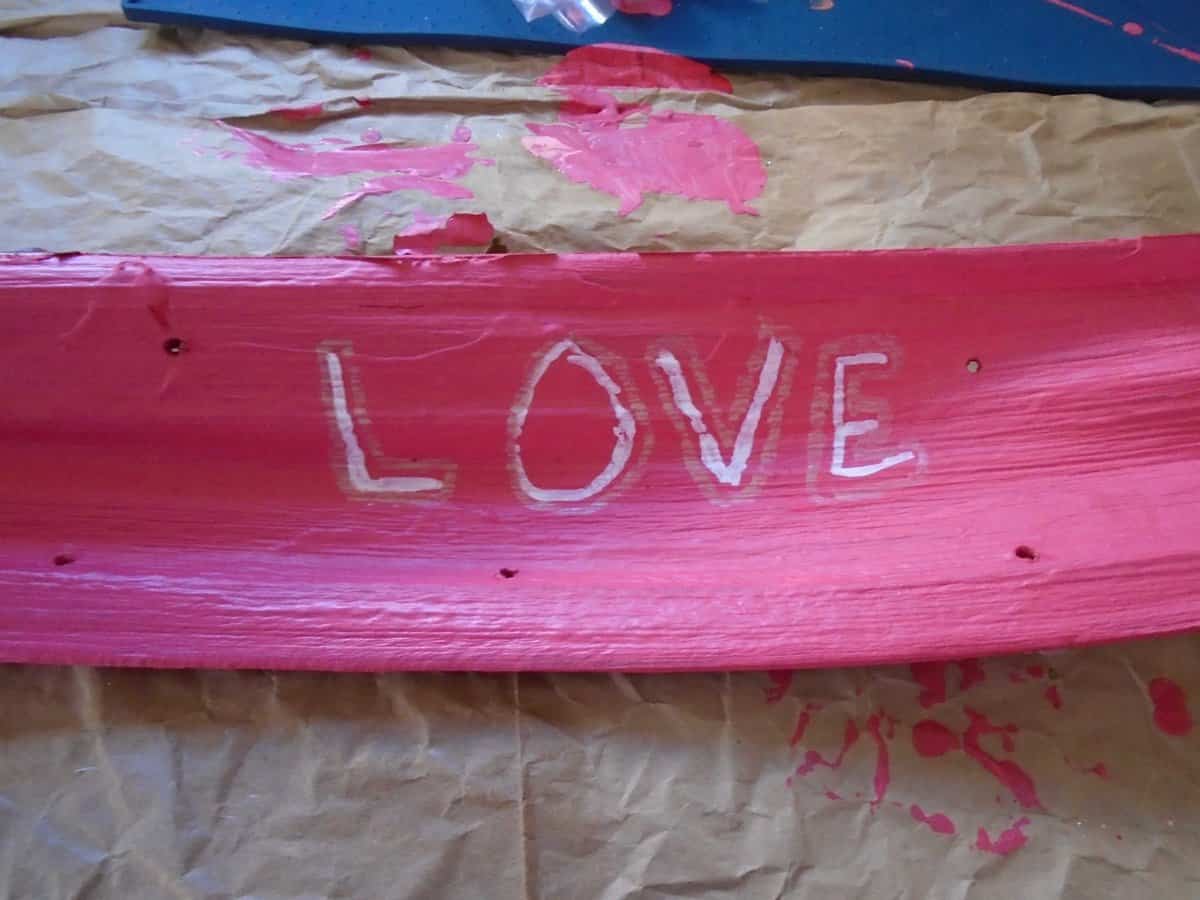
I opted to write the word LOVE in white text. Then thought I’d outline it with gold. Well, the gold marker was a bit dry. It looked okay but I went ahead and went back and painted the word love in with white acrylic paint and followed up with the gold paint. It seemed to stand out better.

I also added some white hearts on either side of the word love.
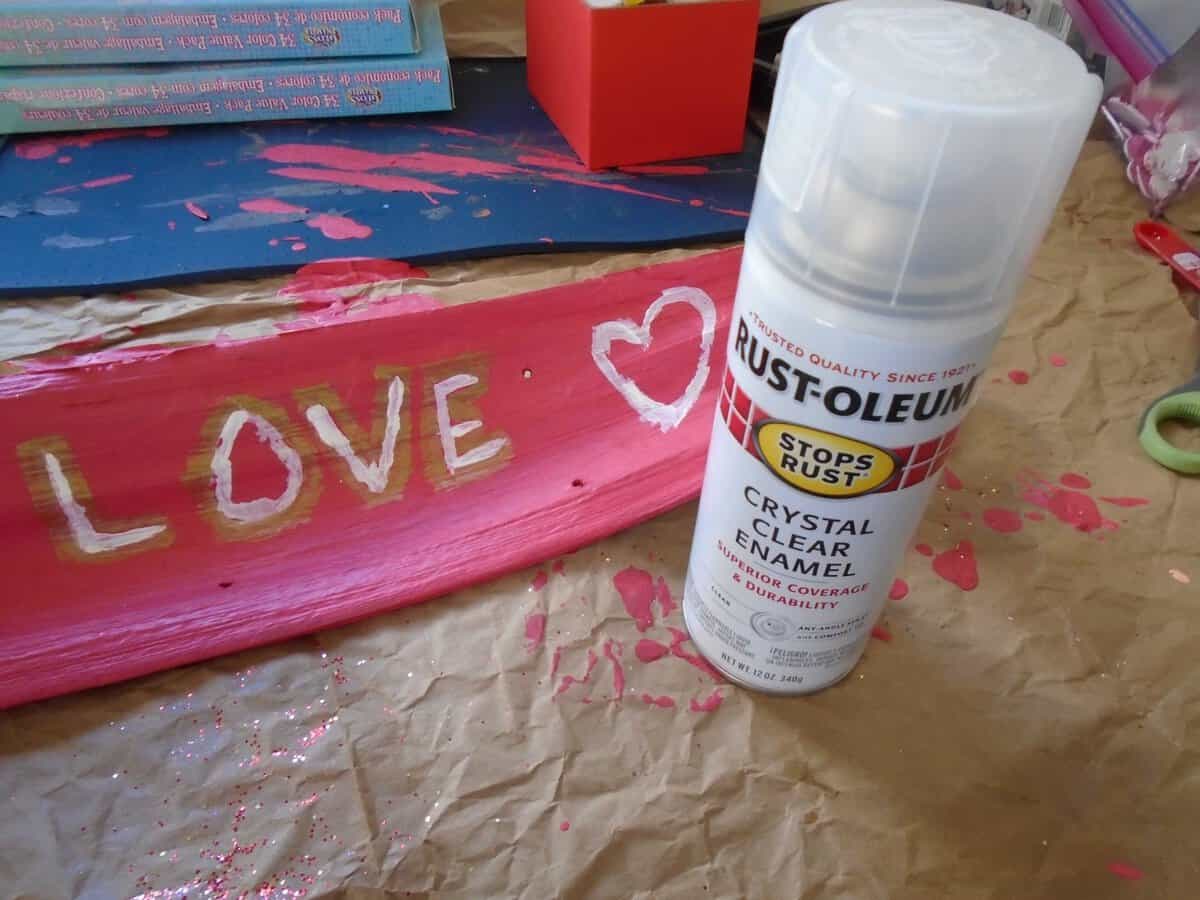
Since I was going to use this sign outside to decorate my studio I figured I’d seal it using a crystal enamel sealer from Rustoleum.
A note for when sealing wood or a paint pour project:
always use this in a well-ventilated area. If you need to wear a mask and protective eyewear.
The drying time for my sign was around 15 mins. I used 2 coats of sealant. I did both sides front and back. Once again drying time will vary depending on the temperature.
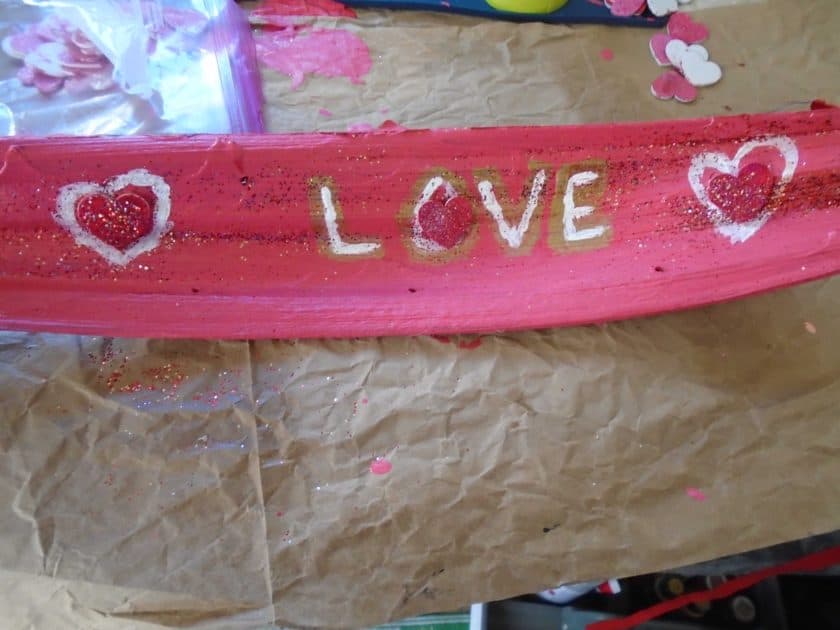
optional step
As you seal your sign you can add a touch of glitter. I tried my best to do this but it looked a bit messy. I ended up having to go back and fix my V and # in LOVE because the glitter clumped.
Adding ribbon and hearts
Since my holes were pre-drilled while I waited for my sign to dry I took some ribbon and cut it to size. I used three different colors red, pink, and purple. I also cut a few pieces of craft wire. I used purple.
I took the craft wire and twisted it around one end of the ribbon. I used that to feed it through the hole in my sign. I then twisted around to secure it to the sign.
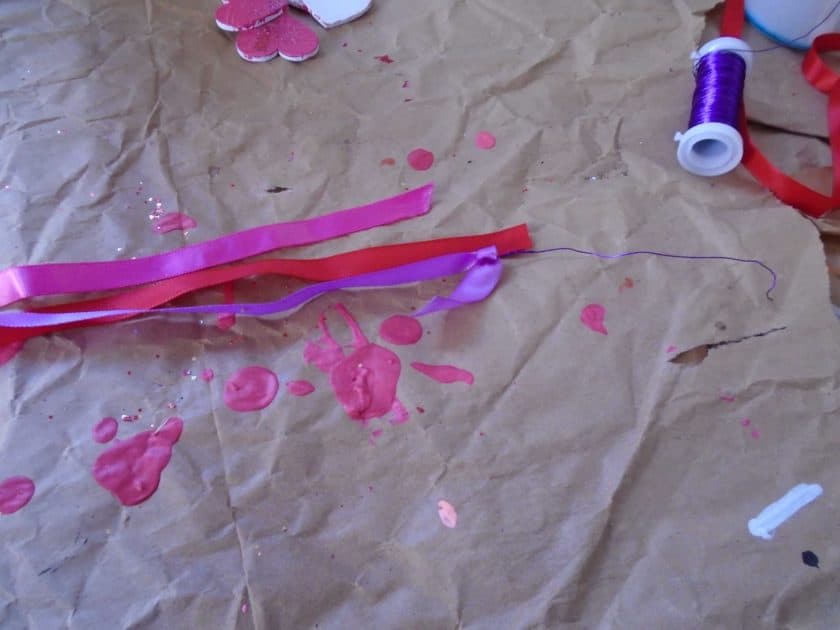
Once that was secured to my sign I started to sort out my hearts. I had painted glitter and sealed these a while back. I was going to use them for another project idea but never got around to it.
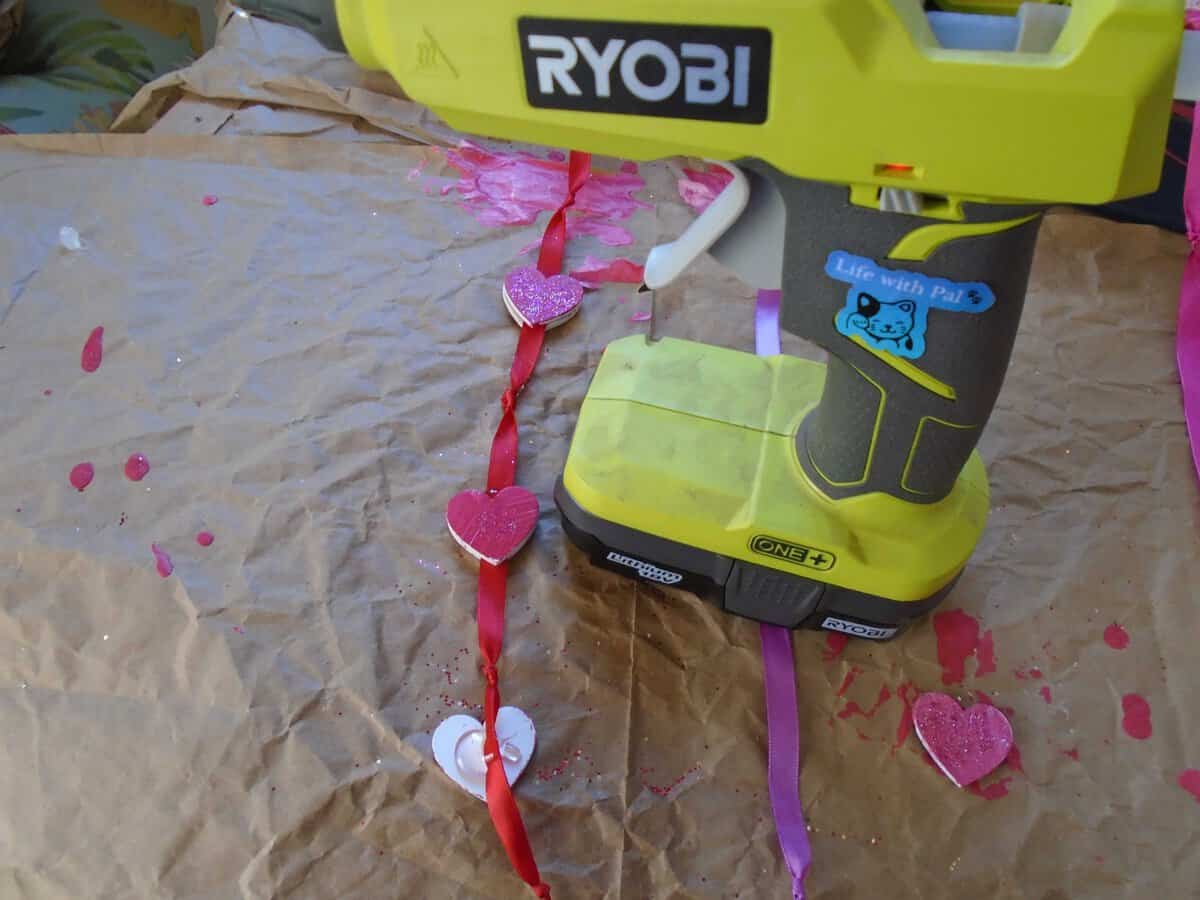
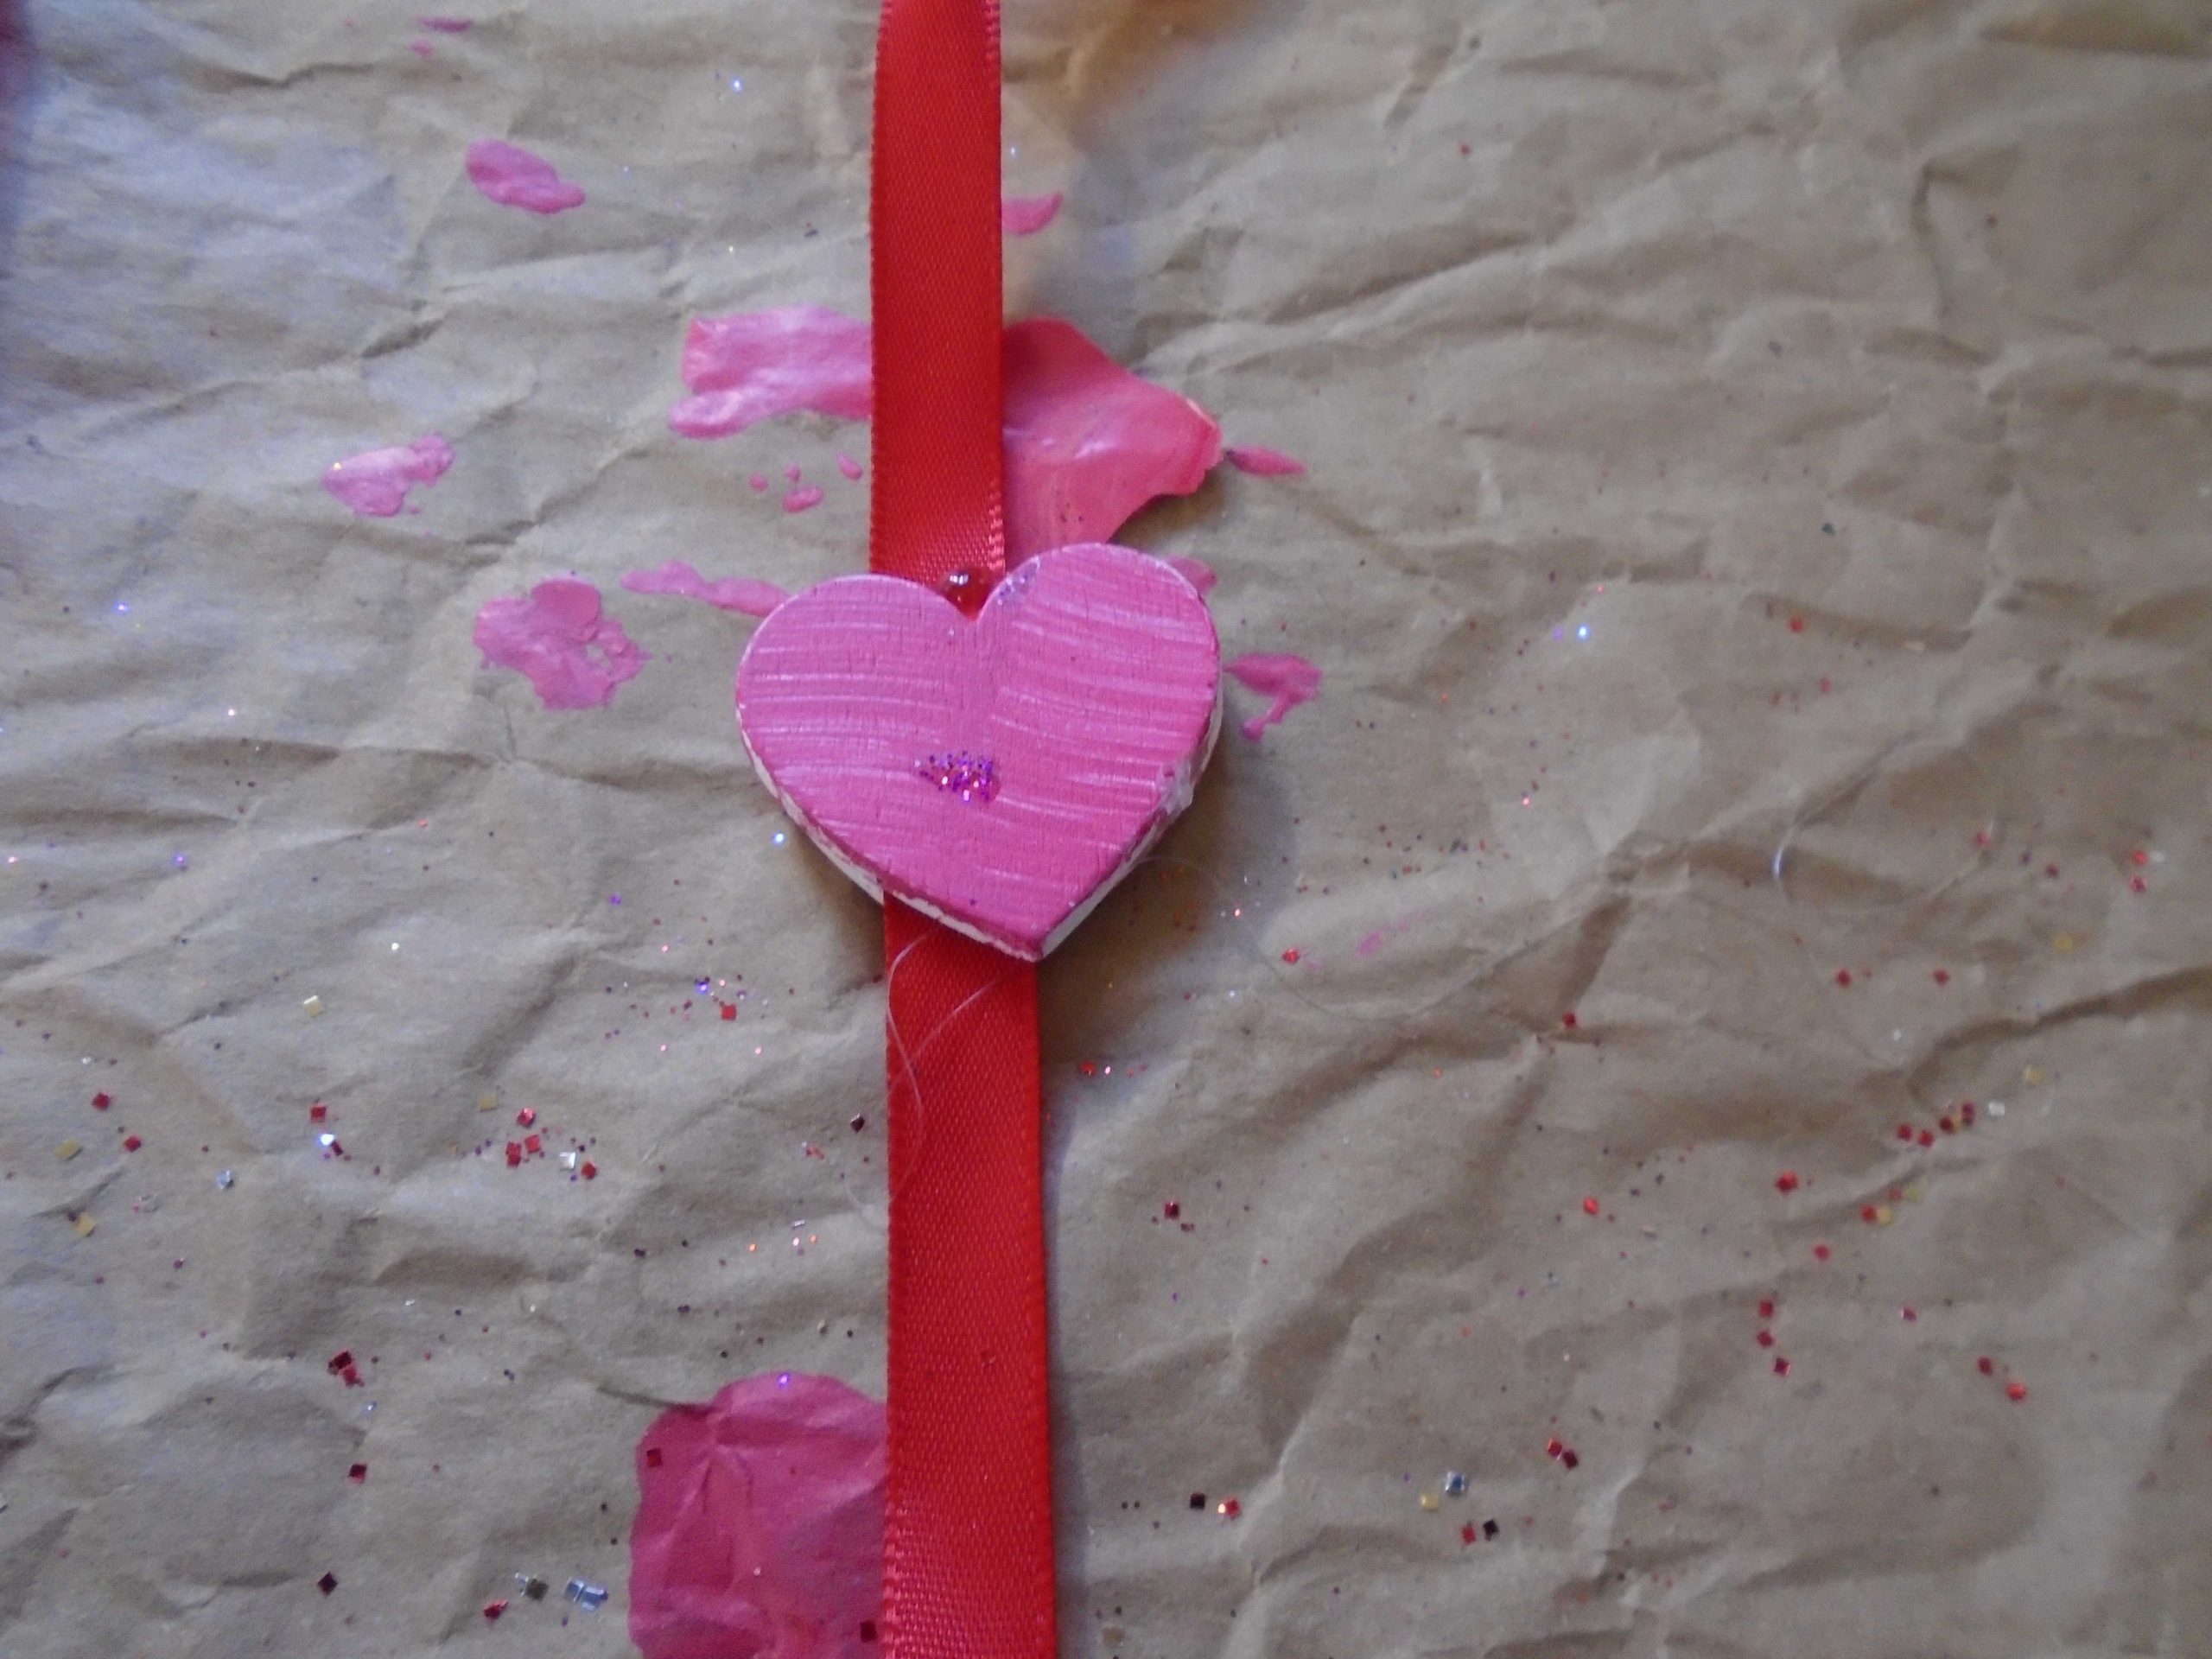
I placed one heat under the ribbon and glued the other on top of it. I used a bead of hot glue.
I also knotted my ribbon in between the hearts.
I did this for all the ribbons.
I also knotted the end of the ribbons. If you think your ribbon will unravel you can always burn the end.

How to hang your sign
You can use any type of hanging option you like. I was going to use craft wire but the one I have was too think. So I opted to use a piece of ribbon.
Being that the drilled holes were uneven it adds a bit more of a handmade appeal.
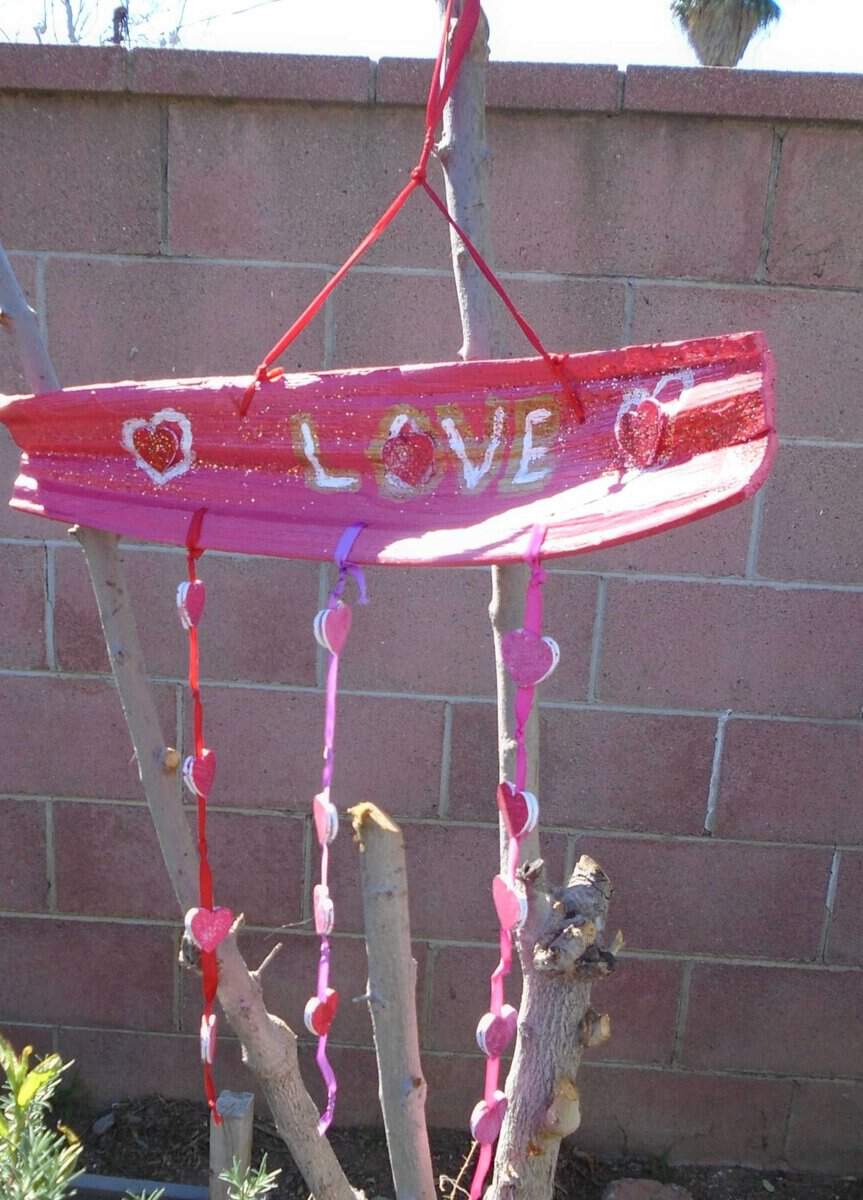
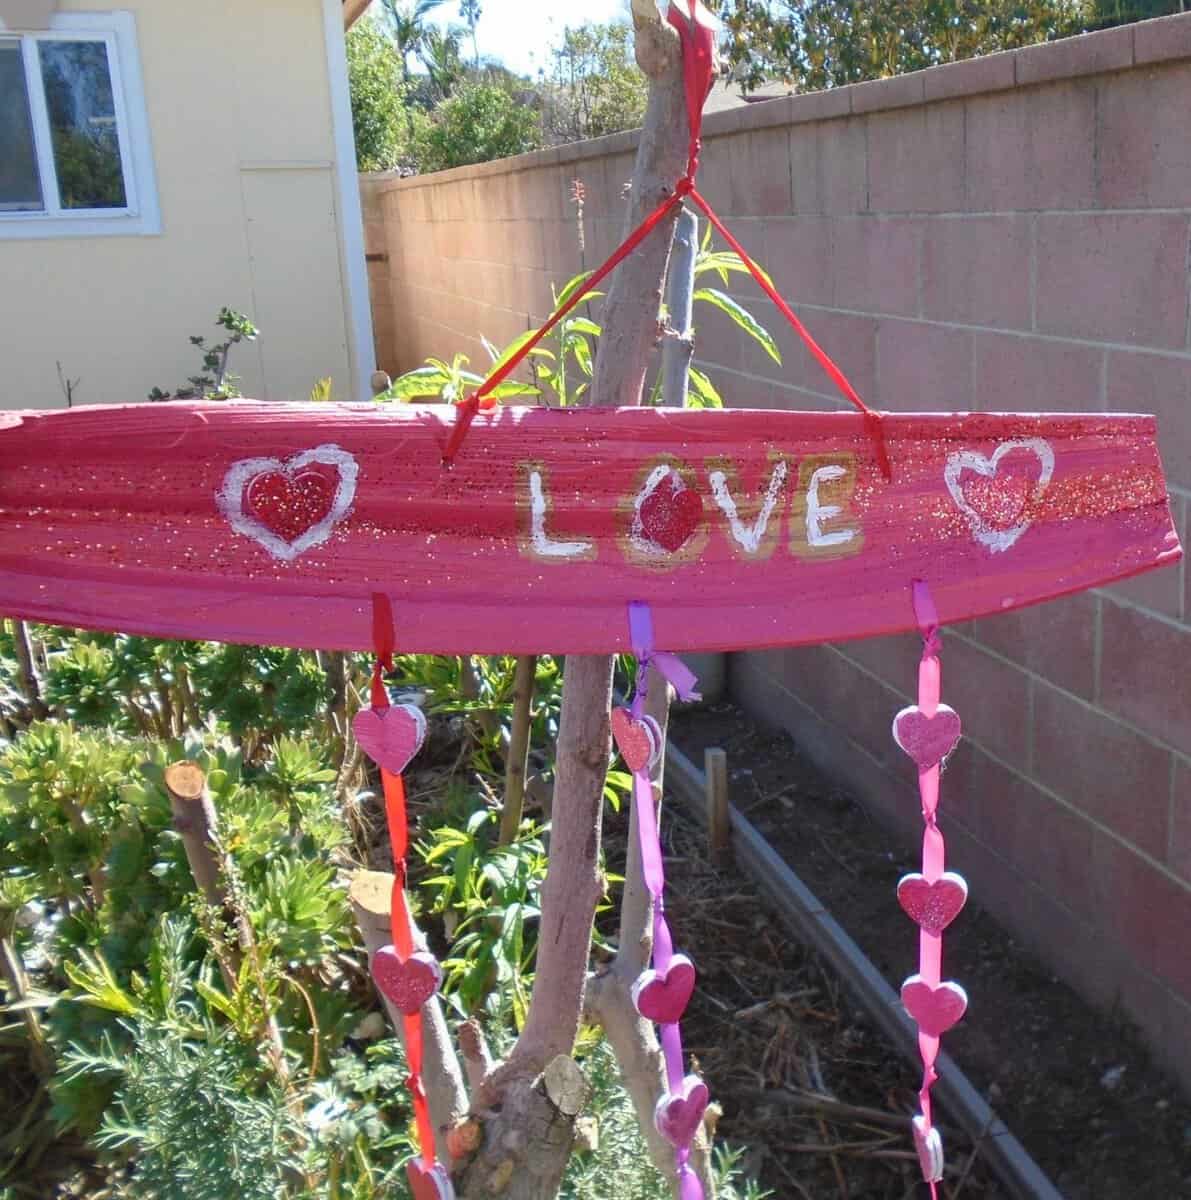
all in all, this is a fun craft. It adds a touch of whimsy and can be changed for the seasons. I also like that you can use this idea to create inspirational signs or motivating signs.


