

This post may contain affiliate links. If a product or service is purchased using a link(s) in the post below a small commission may be earned.
I finally got to use some Gelli Arts gelli plate I bought a while ago. I designed a T-shirt.
I apologize for not documenting the complete process. I got so caught up trying the idea and was excited it worked that I forgot.
What’s a Gelli plate?
A Gelli plate is a pliable sheet that you can use paint or inks on it to transfer to another surface. You can use water-based paints or inks on it.
Gelli Arts has some great info and videos about their products.
The project
I purchased some shirts from Micheals a few weeks back for this project idea. So I figured I’d give it a try.
I had wanted to do what is called a Fabric transfer. This requires a fabric medium mixed with paint added to the gelli plate. Then you can create your image transfer or use a stencil to create your design.
What you’ll need
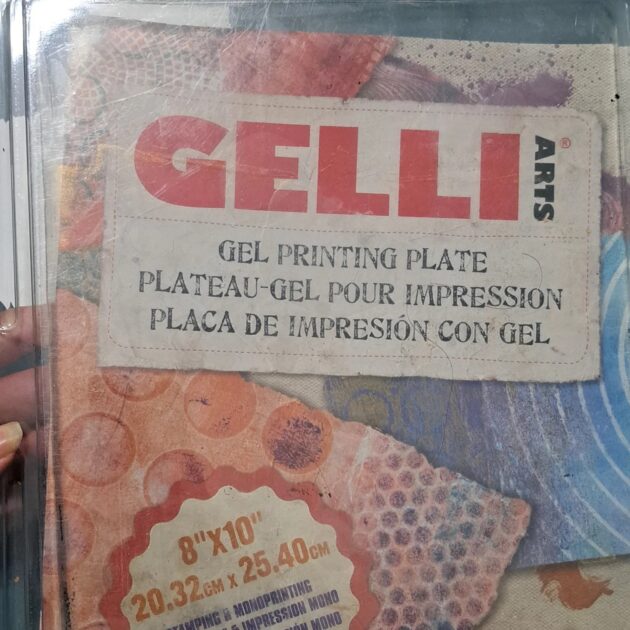
- Gelli plate ( I used an 8 by 10-inch plate)
- A t-shirt or other fabric item
- acrylic paint (color of your choice)
- brayer
- stencil or image
- fabric medium
- iron or heat tool for heat setting
- cardboard insert for the t-shirt
- books to weigh down your Gelli plate
- Parchment or Teflon paper
Other supplies
you may want to have on hand are paper towels, something to protect your work surface, and something to place your brayer on. I suggest also having some copy paper too. This can help you test your image before applying it to the shirt.
You can also remove excess paint from your brayer as well.
Things to know before printing on fabric
Your fabric should be washed before trying this project. You can smooth out or iron out any wrinkles as well. You may also want to have some cardboard to insert into the shirt to give the print more stability. This also reduces possible paint bleeding or staining on the back of the shirt.
A note on using fabric medium
From what I’ve read about using fabric mediums may vary by brand. The one I used was a two-to-one ratio. It was two parts paint to one part medium.
I added the paint dabs to the gelli plate and then added the fabric medium but you can mix them on a pallet before adding it to the plate.
After I had my work area all set up I opened my Gelli Arts plate. The plate is sold in a clamshell case and includes some product info brouchure as well as acetate sheets on both sides.
Let’s get printing
I removed one sheet of the acetate and left the other on the bottom.
How much paint to use?
I’m still trying to figure this one out. The paint amount may vary by your paint brand and viscosity. I used Brea Reese Metallic heavy body paint so I used a few dabs.
You can try a few test prints before you opt to use it on your shirt or fabric.
Using a stencil
When using a stencil you can use a base color let it dry then add your stencil over top. Or you can lightly press your stencil into the damp paint.
I made my own heart stencil out of a sheet of copy paper.
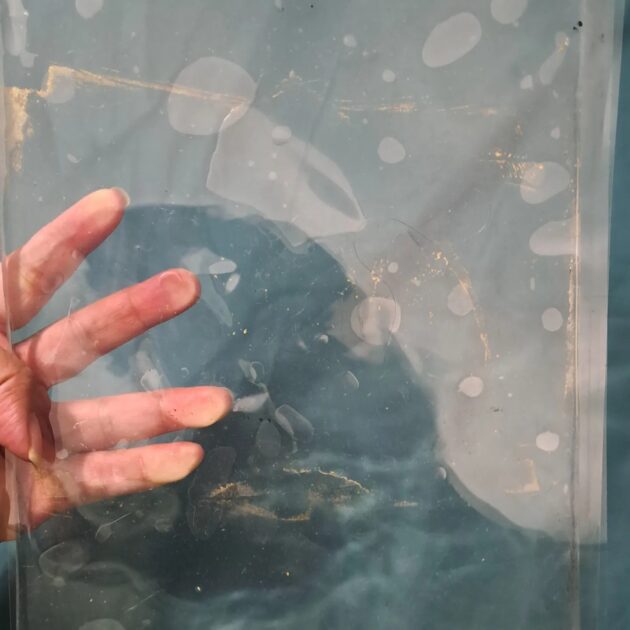
I placed my stencil on the gelli plate then added my paint with fabric medium mixture with the brayer.
Applying the gelli plate to the shirt
I will admit this can be tricky. Since I had a heart design I tried my best to light it up in the center of the shirt. If you need to you can probably use tape as a grid line.
I made sure that my shirt had cardboard inside it to keep it steady. I placed the gelli plate on the shirt. Then I grabbed a few books and weighed it down.
How long does it take to dry?
This may vary by your environment and temperature. I gave it around 5 minutes before checking it. I lightly lifted the gelli plate. I noticed it was sticking a bit so I placed it back down. I added the books back on top again.
I gave it another 5 minutes. You can always set a timer if you need to.
This was the final result.
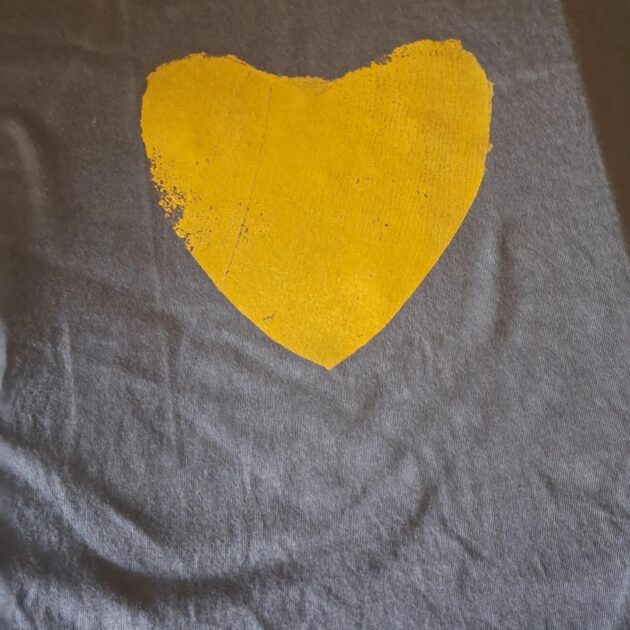
I will admit if I had left it a bit longer it would have come out so broken around the left side. But all in all, I like the rustic look.
Don’t forget to heat set
You will need to heat set this design. According to the fabric medium, you can wait 24 to 48 hours to make sure your project is dry before heat setting. I heat set it right away.
I had to do some Googling to see what temperature to set the iron but I found out it was set to medium for 3 to 5 minutes. You may also want to check the fabric instructions to.
I went ahead and just placed a sheet of parchement paper over my design and ran my warm iron over it . I paused and went over it again.
I left it to cool.
How to wash?
I would suggest you check the washing instructions on the shirt or fabric. You can also wash the garment inside out on gentle. I would suggest if you dry it use a low setting.
I think this was a fun craft to try.
Gelli Arts has lots of great stuff and tutorial videos as well.
