This post may contain affiliate links. If a product or service is purchased using a link(s) in the post below a small commission may be earned.
Last updated on July 5th, 2024 at 10:58 am
I know it can be a daunting task to find a new mic. Especially if you aren’t sure of what features you want or even a price point.
As we know with some tech you get with you pay for. Budget mics may only go so far. Or even if you have a webcam your built-in mic may not be the best because it catches all the background noise or makes you sound a million miles away.
Let’s talk about low-cost mics for a second
There are tons of low-cost USB or lapel mics out there. Some may fit your needs or even your budget. These may be a trial and error process to see which one works for you.
Some low-cost mics may work great while others may not.
What is the difference in the mics
Some mics are wireless or wired or even have a USB cable.
Clip on mics
lapel mics are ones that you clip on your clothing. They can include a wire or be wireless. They will record the sound via a device either a recorder or your your phone. Then you have to synch up your video and sound during editing. This can be a tad tricky.
I can’t give more info because I’ve personally never used them.
But I have seen some people like them especially if they will be doing interviews when they are on the go.
USB mics
USB mics are more stationary. they can be set up on a desk or on a boom arm. These can be used for various types of videos such as live streams, gaming, general content, etc.
These do vary in price from the low end to over $100 USD or more.
They can be basic mics to more professional mics that offer condenser or omi-directional sound quality.
Many USB mics also come with their own stands or filters. Some even come in kits.
The sound quality of a USB mic might be adjusted in your video software or even using third-party software if it’s available.
The only con of a USB mic is that you are tethered to your desk and a computer. Some mics are a bit bulky to travel with.
Let’s check out the yeti
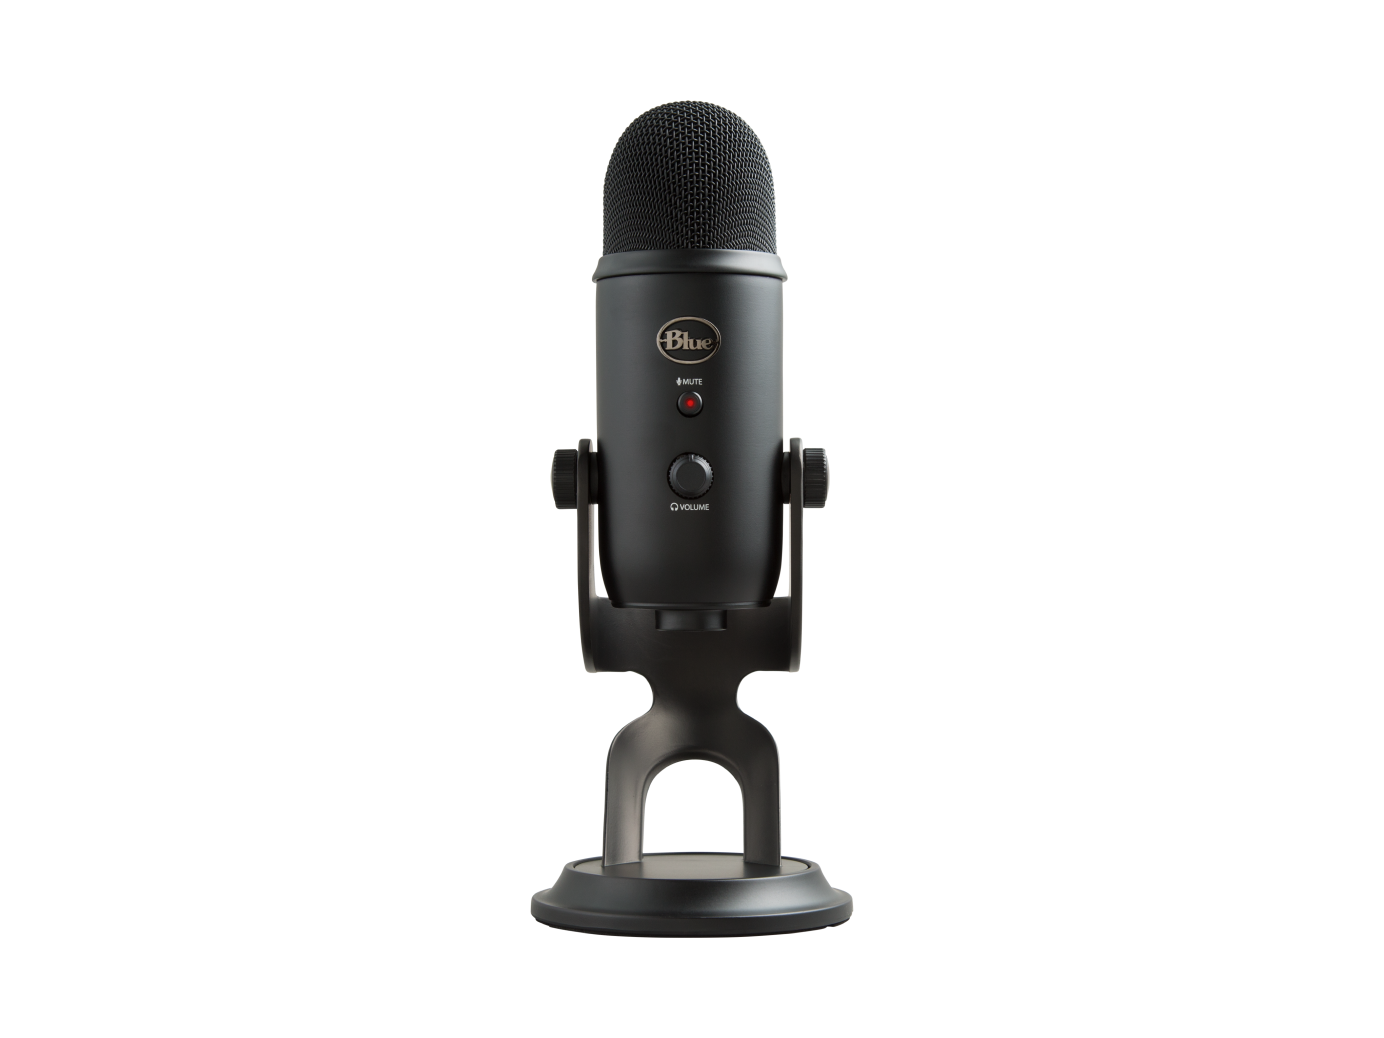
Blue makes a variety of mics. I used my webcam mics for a few years before buying a Blue Snowball mic. This made a bit of a difference in my videos because the sound quality was better.
After four years of use, I figured it was time for an upgrade. I’m pretty brand loyal and thought I’d upgrade to a newer Yeti mic.
My snowball mic was starting to pick up a lot of background noise. Especially the fan from my laptop’s cooling pad during recording. Also with typical wear and tear, it was time to buy something new.
I had been looking into mics and figured I’d stay with Blue since the mic quality is durable and works well with my aging laptop and video editor.
I had originally wanted the latest Yeti X professional mic but figured I would purchase that later on due to its higher price point.
Blue also makes the Yeti Nano but if I was going to spend the money I figured I’d get the full-size mic.
What’s in the box
The box includes everything you need. The mic, USB cable, and stand. The box also has a basic overview of the mics features and the sound settings it has.
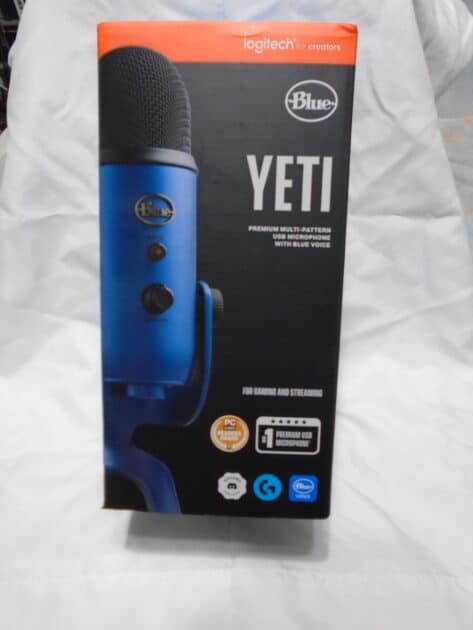
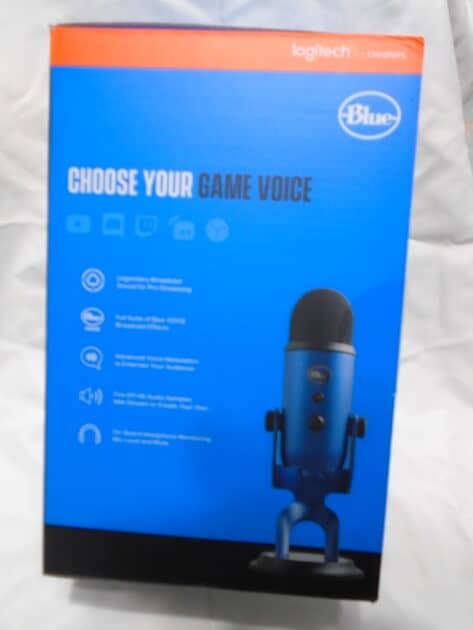
The mic is ready to use out of the box. it’s all set up all you need to do is plug in the USB cord and headphones if needed.
The jacks are located at the bottom of the mic.
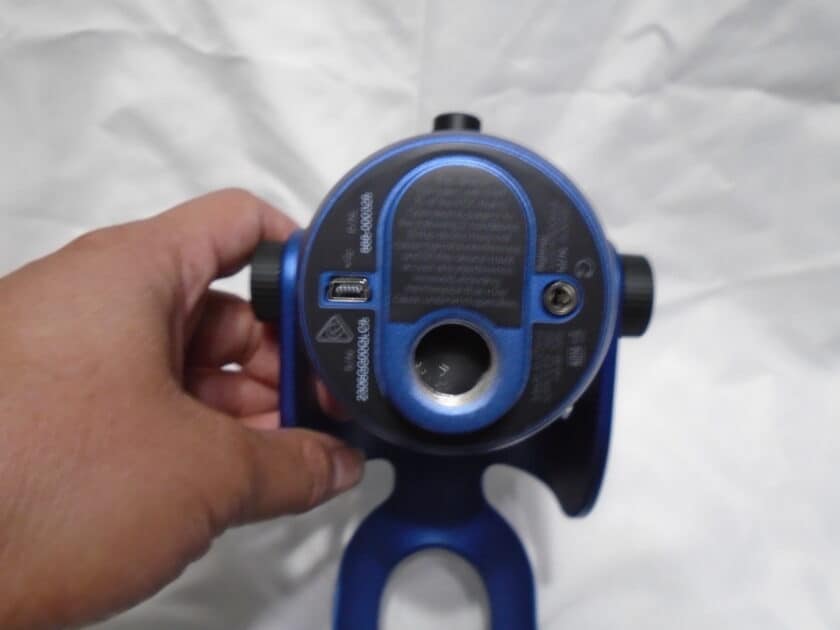

The center of the mic has the boom arm thread. You can remove the mic from the base by releasing the turn knobs on either side. I will say if you do this it can be a bit tricky to put it back on the stand.
The USB cable is a decent length.
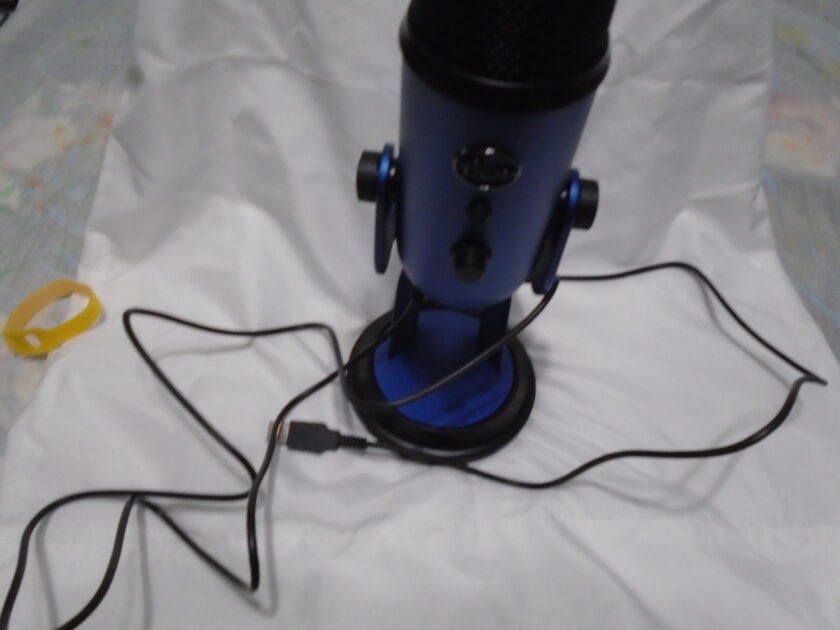
Let’s talk about controls
The mic is pretty basic it has a mute button and a volume control on the front. They are easy to turn and set. You can also adjust the sound quality when you use the Logitech G Hub software.
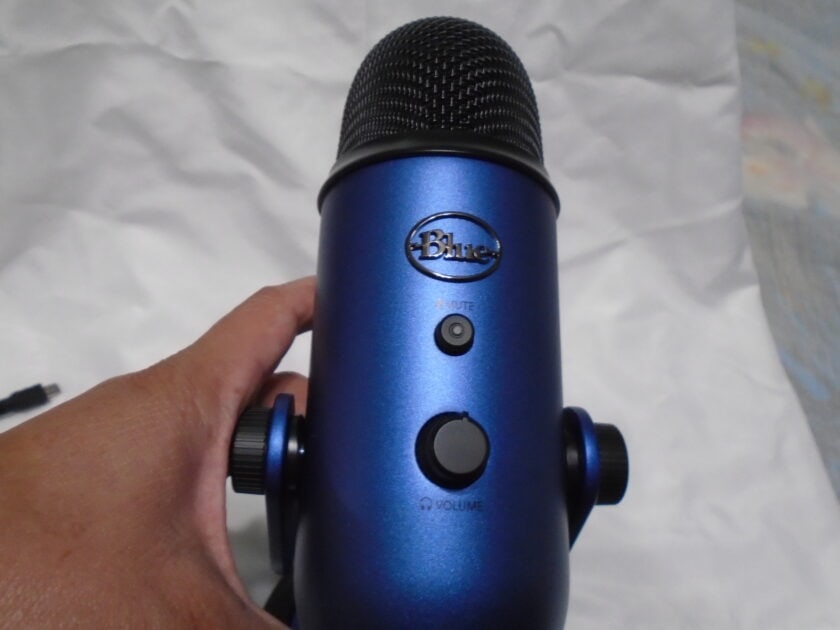
The mute button is a simple push button. The light turns red when mute is set.
Let’s talk about sound options
This mic has two buttons on the back. The sound settings and the gain. Both can be turned to adjust. You can also customize your gain when using the Logitech software too. I haven’t played around with it much so forgive me if I’m wrong.
The other button the back of the Yeti mic has is the sound directions.
The mic offers the following sound options:
- CARDIOID
- OMNI
- FIGURE 8
- STEREO
Let’s break these down for a second, shall we?
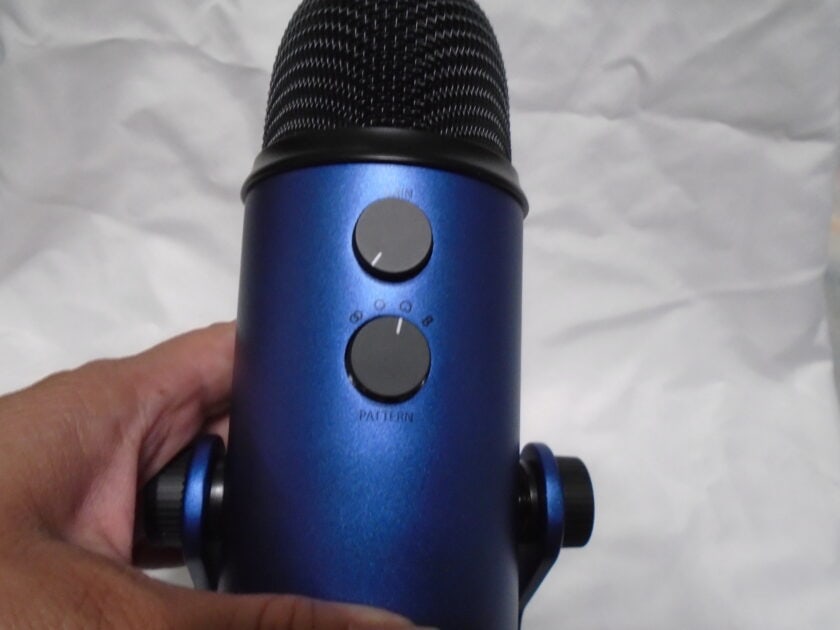
CARDIOID: this is a typical setting where the mic picks up the sound in front of it. So this would be used when you are making a video when you are talking into the mic.
OMNI: Omni picks up sounds from all around the mic. This might be great if you are interviewing someone or live-streaming with others. It may also work when gaming.
FIGURE 8: This setting picks up sounds from both sides of the mic. So this might work if you are interviewing someone and you only have one mic.
STEREO: This setting is great for music or singers.
Logitech has a great example of the settings.
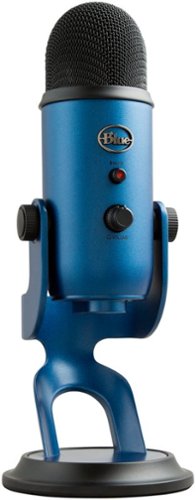
You can check out the links provided to learn more about the product. It’s sold in a few different colors as well.
